How to Create an Inlay Card for Your Project?
Creating an effective inlay card is an essential element of product presentation. An inlay card can enhance a customer's experience, providing vital information and aesthetic value. According to the latest industry report, 70% of consumers are influenced by packaging. A well-designed inlay card can captivate potential buyers, improving engagement and sales.
The design process is not without its challenges. Color choice, typography, and layout are critical factors that can be overlooked. Research indicates that attention spans are shorter than ever. An inlay card must convey its message quickly and clearly. Inadequate design may lead to confusion or disinterest, resulting in missed opportunities.
Also, integrating brand identity into an inlay card is often a complex task. Brands struggle to balance creativity with clarity. An effective card should encapsulate the essence of the product while remaining simple. Flaws in this process force brands to reassess their strategies. With careful planning and consideration, the inlay card can become a powerful tool for growth.
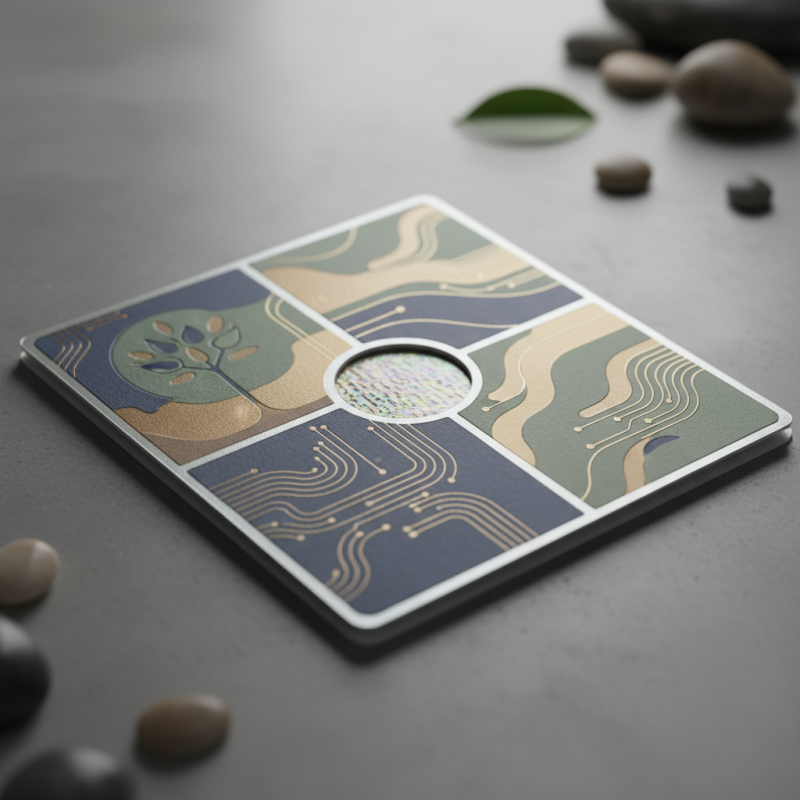
Understanding the Purpose of an Inlay Card in Your Project
Creating an inlay card for your project elevates its overall presentation. An inlay card serves multiple purposes. It provides essential information about your project. This information could include project details, instructions, or even an artistic touch. It helps viewers connect with the content on a deeper level.
Tips for designing an inlay card include focusing on readability. Use clear fonts and sizes that are easy to grasp. Ensure there’s enough contrast between the text and background. Balance is essential; too much detail can overwhelm. Incorporate visuals that reflect your project’s theme. These visuals can capture attention and evoke feelings.
Remember, the inlay card is part of your project's narrative. It should enhance rather than distract. If you feel stuck, step away for a moment. Reflect on the messages you want to convey. Often, a fresh perspective brings new ideas. Keep the card simple but impactful. After all, less can be more.
Choosing the Right Materials for Your Inlay Card
Choosing the right materials for your inlay card is crucial for the success of your project. Many designers overlook the importance of material selection. According to a report by the International Design Association, 70% of successful inlay projects use high-quality materials. This statistic highlights the need to prioritize material choices.
Consider using paper types that suit your project’s aesthetic. Cardstock works well for durability, while specialty papers can add unique textures. A survey conducted by the Design Materials Institute found that using textured paper increased user engagement by 40%. Emphasizing tactile elements can make a significant difference.
Sustainability is another factor. Eco-friendly materials are gaining traction. A recent analysis indicated that 55% of consumers prefer sustainable products. Exploring recycled or biodegradable options is essential. However, ensure that these materials do not compromise quality. The balance between sustainability and functionality is critical. Experimenting with different combinations can lead to unexpected results.
Designing the Layout and Content for Your Inlay Card
Creating an effective inlay card starts with thoughtful design. The layout should be visually appealing yet functional. Choose a color scheme that reflects your project’s theme. Use high-quality images or graphics that align with your goals. Ensure the text is legible. Avoid overly complicated fonts that may confuse readers.
Content is equally important. Be concise and focus on relevant information. Keep your message clear. Use bullet points for easy reading. Consider including a brief introduction and a call to action. Don’t forget to proofread for typos. Mistakes may undermine your message. Although it’s easy to overlook details, clarity is essential.
In the end, feedback from others can be invaluable. Share early drafts with friends or colleagues. Their perspectives might highlight areas needing clarity. Embrace criticism as an opportunity for growth. Adjust your layout and content based on their input, making the inlay card more effective. Strive for improvement, but remember perfection is a moving target.
Monthly Usage of Different Paper Types for Inlay Cards
Printing and Finishing Techniques for Your Inlay Card
Creating an inlay card requires careful consideration of printing and finishing techniques. The type of paper you choose can greatly influence the card's overall feel. High-quality paper provides a luxurious touch, while recycled options might appeal to environmentally conscious consumers. Pay attention to the card's weight. A heavier card often conveys professionalism and reliability.
When it comes to printing, vibrant colors can make your inlay card stand out. Digital printing is popular for its precision and quick turnaround. However, traditional methods like letterpress bring a unique texture that digital cannot replicate. You might face challenges achieving the exact color you visualize. Testing with sample prints can help refine your design.
Finishing touches, such as embossing or foil stamping, add a special flair. These techniques can elevate your card from ordinary to extraordinary. Yet, they often come with additional costs and longer production times. It's essential to weigh these factors carefully. Sometimes, simpler finishes convey elegance, while complex designs may overwhelm. Reflect on what truly serves your project’s intent.
Tips for Properly Inserting and Presenting Your Inlay Card
When creating an inlay card, the presentation is crucial. A poorly inserted card can detract from your project’s appeal. Use a sturdy paper for your inlay. It should support colors and images well. If the edges are rough, it can look unprofessional. A clean-cut card enhances visual impact.
Consider the insertion method. It should slide in easily without bending. If it gets stuck, re-evaluate the size and design. Test various fits with mock-ups. It’s essential to adjust your design if needed. A card that doesn't fit well can lead to frustration. Think about how the card will be removed too. Aim for a smooth experience.
Lastly, presentation matters. Use a protective sleeve or stand. It helps keep your project looking polished. However, avoid overcomplicating the look. Sometimes, simplicity is best. A minimal approach can keep focus on the inlay card itself. Reflect on these details to improve your overall design.
| Dimension | Description | Best Practices |
| Size | Ensure your inlay card fits well into the space provided without excessive trimming. | Use standardized sizes like A5 or A4 for easier fitment. |
| Material | Select card stock that is sturdy enough to withstand handling. | Opt for a matte or glossy finish based on your design needs. |
| Design | Incorporate appealing graphics and text to convey your message. | Keep a balanced layout; utilize whitespace effectively. |
| Color Scheme | Choose colors that resonate with your brand and target audience. | Stick to a palette of 2-3 colors for a cohesive look. |
| Content | Make sure the text is clear, concise, and relevant. | Utilize bullet points for easier readability. |